|
Today’s newsletter is written by:

|
|

|
Photo Credit: Zoë Griffith
|
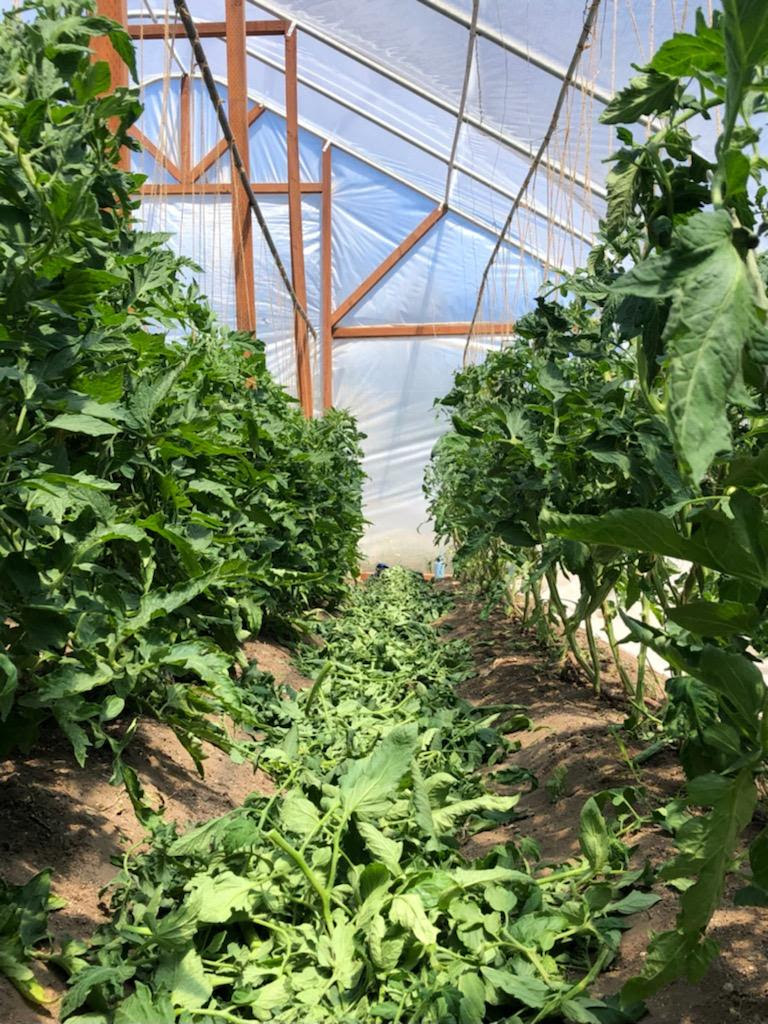
When life gives you white mold…. Make green tomato chutney!
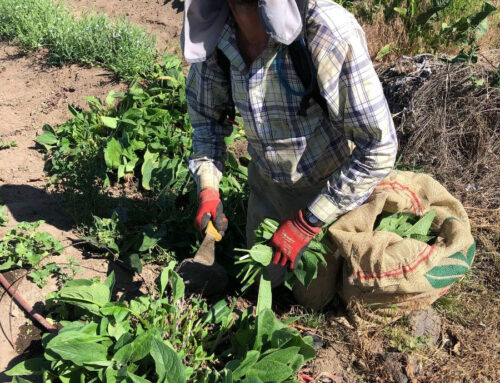
It was a day like any other. I was sweating through my Carhartts in the tomato houses, pruning back our tomato ladies, when I came across a plant that was… less than lively. At first glance all I noticed were yellowing, crispy leaves which could mean 100 things really – the plant is hungry? Yellow leaves. Getting too much sun? Yellow leaves. Aliens are descending from the sky and doom is imminent? Yellow leaves.
After a closer look, however, I noticed something particularly odd. It was this section of the stem, which was kind of dried out, sunken, and had weird little black things that resembled seeds. I looked around at the rest of the tomatoes and all my eyes could see were yellowing leaves. (Spoiler alert: those black things are called sclerotium, and are compact masses of hardened fungal mycelium. It contains food reserves, and can remain dormant in the soil for 10 years.)
So began the phone call chain: me, to Simon, to Nat and Sarahlee who were at market, to OSU’s plant pathologist until we deduced that we had white mold. With advice from the professionals we began diligently pruning and digging out infected plants, thinking aloud:
Do we need to take all pruned plant matter out of the green houses even though we previously regarded that as valuable green mulch?
Is the Lamb’s Quarter growing nearby a problem because it can harbor white mold even though it’s deterring the Colorado Potato Beetle from entering the tomato houses?
No answers, just questions and proceeding with an open heart in the best way possible and some delicious green tomato chutney to use in some of our upcoming brunches and dinners!
|
Photo Credit: Zoë Griffith
|
Our Hive Mystery
Hive tool in hand, Steve, who helps us with our farm bees, gently pried each frame out of the hive box and scanned them for the queen as well as new brood cells to make sure she was laying. From the outside, and my new-bee eyes, the hive appeared to be buzzing along just fine. But not so.
“Uh-oh, this could be a bad sign,” said Steve.
I wiped the eager grin off my face and waited for him to elaborate as he worked his way into the center frames. The sign of trouble that Steve, who’s been learning the language of bees for decades, could read but I didn’t pick up on was that the new brood cells were exclusively for drones. Drones are large, rather useless bees and are the sterile product of an unfertilized worker egg.
In other words the queen was gone, we don’t know where she went. A worker bee took it upon herself to lay eggs, and has been laying only drones. Our hive was headed down a dead-end street. To remedy the situation, Steve removed the frames he thought the laying worker was on, and replaced them with frames containing queen cells. We’ll be checking on the status of those new queens soon.
Why so many queens? You put a few in there to make sure one takes. The first one to hatch eats the other two to fulfill the queen roll in the hive.

Photo Credit: Zoë Griffith
|
The frames we removed from the hive in the golden light of the farm.
|
Vegetable ID: Kale |

Kale is a member of the brassica family and comes in blue-green, reddish green, and red/purple varieties and may have flat or curly leaves. All types of kale have thick stems. It has a mild cabbage flavor when cooked.
To store: Place kale unwashed, wrapped in a sealed plastic bag in the crisper drawer of the refrigerator. Best used very fresh, but may last for a week. You will know you have held it too long when the leaves start yellowing.
To prep: Wash leaves in basin of lukewarm water to remove grit. Fold each leaf in half and slice out the stem. Then stack the leaves up and slice them diagonally into 1-inch-wide strips.
To use: Sauté in olive oil. Use in soups, spaghetti sauce, pesto, quiche, or kale chips. You can also massage all kale with a pinch of salt and a drizzle of olive oil to make a delicious salad base.
To freeze: Blanch washed greens for 2-3 minutes. Rinse in cold ice water to stop the cooking process, drain, and pack into airtight containers. Stems can also be frozen.
Vegetable CSA Harvest List
We think our foundation vegetables this week will be: kale and lettuce. We will let you know on Wednesday how many other items you will get to select.
We have been keeping an eye on the hoops and 2-acre garden and have a pretty good idea of what is out there and ready to be harvested, but this is a Sunday estimation of what we will be harvesting on Tuesday. Also, because we have a market style CSA, this isn’t a guarantee of 1 of all these things for everyone. Instead, this will be the variety of what will hopefully (fingers crossed) have for you to choose from this week.)
Other Vegetable Options will probably include:
peas
carrots
kale
rhubarb
salad turnips
green onions
lettuce heads
arugula
broccoli
chard
green onions
kohlrabi
peas
various herbs
beets
spinach
salad mix
zucchini
asian greens
kohlrabi
red radish
fennel
cucumbers
napa cabbage
yod fah (sprouting broccoli)
| Keep an eye on our Instagram stories for a tour of what the options are on Wednesday around 11 am. |
|
|
|
|
adapted from Andrea Bemis’ Local Dirt
INGREDIENTS
2 to 3 cloves garlic
3 cups packed kale leaves (about one bunch)
3/4 cup toasted walnuts (or whatever nut or seed you have around)
2 tablespoons red wine vinegar
3/4 teaspoon fine-grain sea salt
1/4 teaspoon freshly ground black pepper
pinch of crushed red pepper flakes (optional)
1/2 olive oil or walnut oil, plus more if desired
INSTRUCTIONS
- In a food processor, mince the garlic cloves. Add all the rest of the ingredients except the oil. With the motor running, drizzle the olive oil in and process until the pesto reaches the consistency you would prefer. (Don’t forget to scrape down the sides periodically.) Taste and adjust seasonings as needed.
adapted from Deborah Madison’s Vegetarian Cooking For Everyone
INGREDIENTS
1 bunch kale, stems removed
2 to 4 tablespoons olive oil
1/3 cup pitted Kalamata olives, coarsely chopped
1/4 teaspoon red pepper flakes
salt
1 lemon, quartered
INSTRUCTIONS
- Bring a pot of water to a boil. (You need enough water to add all the kale at once.) Add 1 teaspoon salt per quart. Add the kale leaves to the water and simmer until the leaves are tender, about 10 minutes. Drain and press out excess moisture with the back of a spoon.
- Toss immediately with the oil, olives, pepper flakes, and salt to taste. Serve with the lemon wedges.

|
|

